


Mar 29, 2018 03:47
0 comments
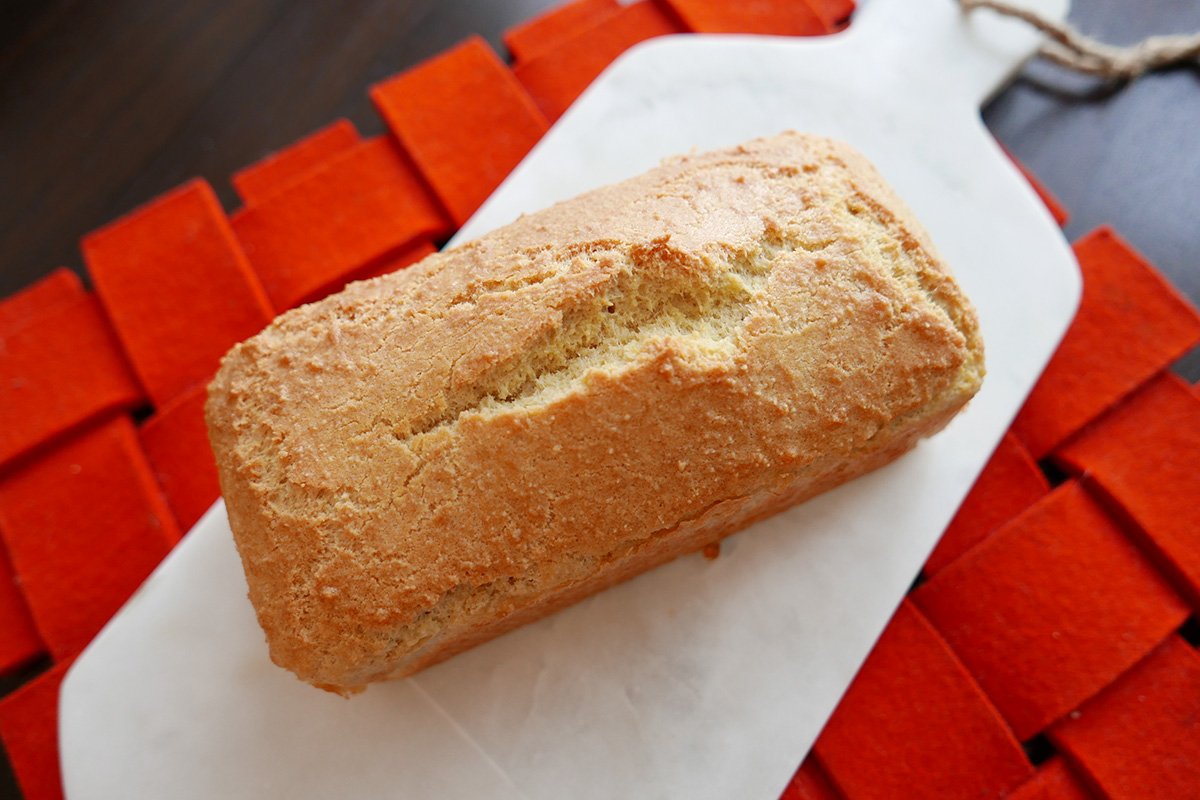
Ran's Perfect Keto Almond Bread


My grandma from my mother’s side was excellent with baking. She baked breads, cakes, cookies. Her kitchen was always filled with a sweet aroma. I enjoyed visiting her house and the baking time with her. Dipping my finger into the dough and cream, and tasting the real sweetness of sugar - all good memories :)
But I am not a sweet tooth. I love savory and I could live without sweets. So, baking was not my interest until recently.
When I started with the Ketogenic diet, I was kind of forced to bake bread for myself. You know why? With the Ketogenic diet, we do not eat any grains. That means I do not eat anything like rice, wheat, corn, etc.
My main side dish with meals used to be steamed rice. As a Japanese, it was a hard decision not to eat white rice. But that is what I had to do :) So, I had to look for another Keto friendly option that I can incorporate into my everyday menu. Cauliflower rice is one of them. However, low-carb, ketogenic friendly bread was something easy to add in my menu when planning the menu ahead.
I could not find any commercial bread that works with my diet, that has no sugar, no additives, no preservatives, and has good nutritional balance that works with my very specific Ketogenic diet. I believe that consuming preservatives, additives or artificial flavors do not help my cancer healing. I also do not find any health benefit in consuming sugar. As for sugar, I will probably stay away from even after I am completely healed from cancer in the future.
Being a beginner baker, it was kind of a fun adventure. I went to Google (as I always do!) and found a few fantastic recipes like “Low-Carb Mini Buns by Ruled.me” or “Flaxseed bread by keto Diet App”. They are super easy, and I could make them without big modifications to balance my nutritional balance needs. So, I highly recommend these two!
I did live with 3~4 of my staple bread recipes for the first one year and half.
Then, over the last three to four months, I started feeling that I want a new bread! Ha ha. Making the same receive again and again, I got a bit bored even though I tried to rotate them.
I also wanted to find a perfect recipe that I can bake in a loaf pan and then slice, to make sandwiches. Not all of the super-low-carb Keto breads have the firm texture that can hold its shape for making sandwiches. It usually tends to break and crumble. In addition, I wanted to make one recipe that works with my ideal nutritional balance of 2~3% carb, 12~15% protein, 80~85% fat, so that I would not have to adjust too much of my nutritional balance with other food while planning a menu. When continuing with an intense dietary commitment, simplicity is the key to be able to sustain it without big stress.
Well, I was super excited when this bread came out from the oven! It took me several times of adjustments and experiments. I never thought me as a baker, who would start making her own recipes! Ha ha. I did it! Yay!
I am happy that I can finally share it here. I hope you enjoy this bread as well. I would love to have your feedback if you want to share. Please leave it in the comment area.
Love,

Ran Oehl

Recipe Name Keto Almond Bread
 Prep time: 15 minutesTotal time: 60 minutes

NUTRITIONAL VALUES (PER SERVING)
| Total Carbs: | 4.1 | grams |
| Net Carbs: | 1.9 | grams |
| Fat: | 21.30 | grams |
| of whitch Saturated: | 8.3 | grams |
| Protein: | 7.3 | grams |
| Calories per servings: | 230 | kcal |
WHAT YOU NEED - INGREDIENTS - FOR 12 SERVINGS
- 7 Large Egg
- 4 oz melted Unsalted Butter
- 28g melted Coconut Oil
- 1 tablespoon Almond Milk (unsweetened)
- 2 cups Almond Flour
- 1 teaspoon Baking Powder
- 1/4 teaspoon Cream of Tartar
- 1 tablespoon Psyllium Husk
- 1 teaspoon Coconut Flour
- 1/2 teaspoon Himalayan Salt
WHAT YOU NEED - KITCHEN TOOLS
- Bread baking loaf pan (8“x4”)
- Parchment paper
- Stand mixer or anything you can whip egg white to meringue until it really peaks. But this step could be optional. So, if you do not have it, do not worry! You can always use a whisk.
PREPARATION NOTE
- To melt butter and coconut oil : I use my electric cooktop surface warmer. But you can use the microwave or the gas stove. Make sure it is not boiling hot. It should not feel hot when you dip your finger in. If you use the microwave, it needs about 30 seconds.
DIRECTION

- Preheat the oven to 350F degrees F (175C degrees).
- Line a loaf pan with parchment paper.
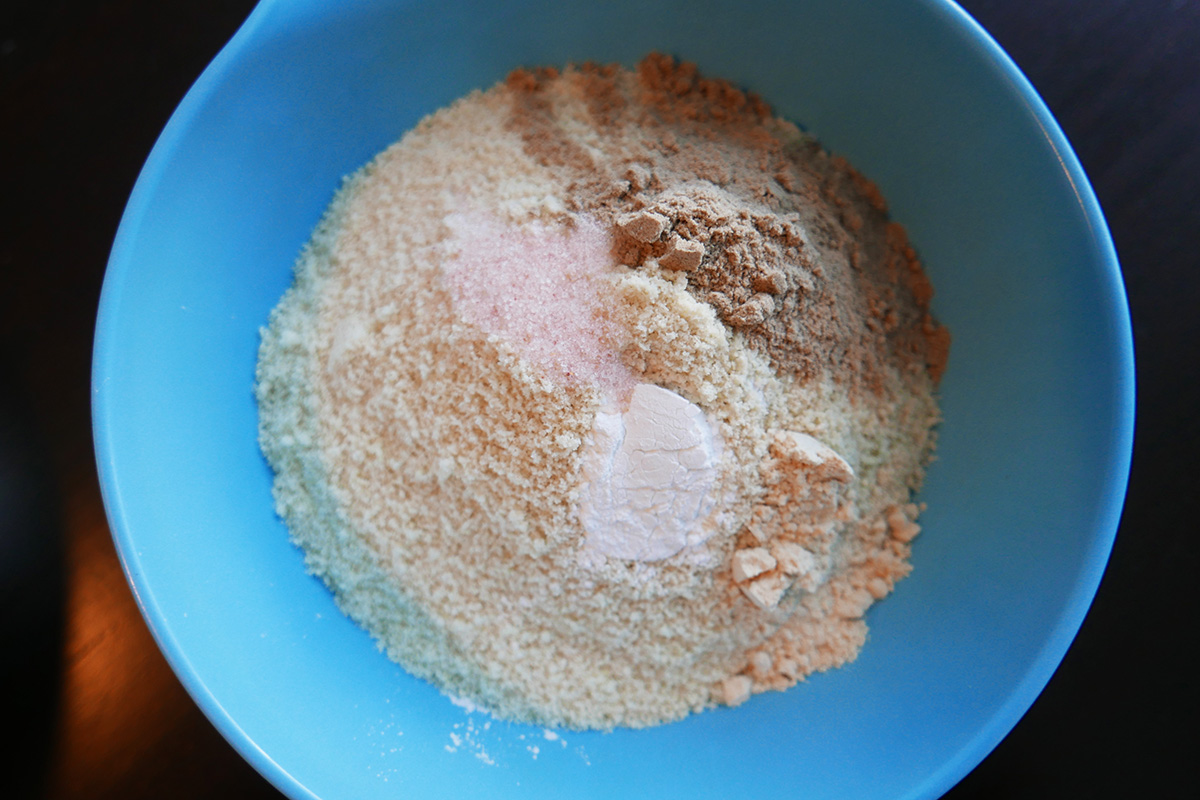
- Mix almond flour, baking powder, psyllium husk, coconut flour and salt in a bowl.
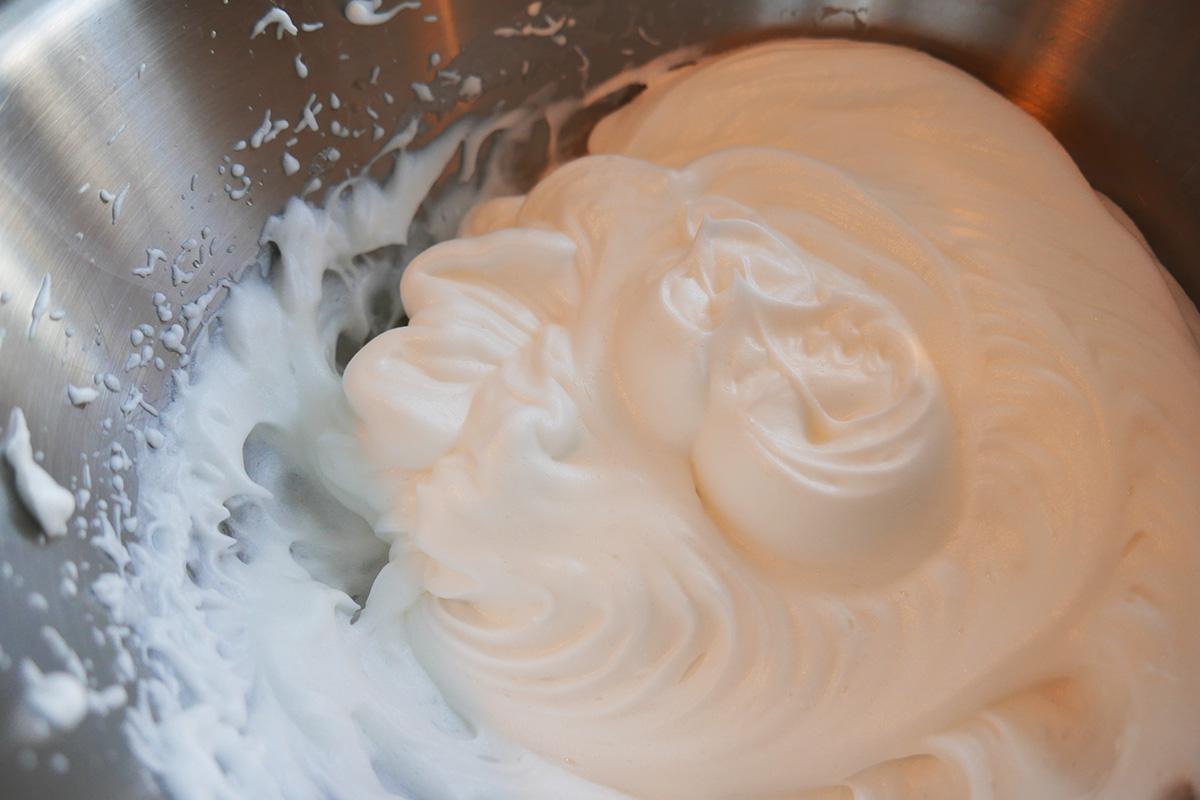
- Separate the egg whites from the yolks. In a big bowl, add Cream of tartar and the whites and beat until soft peaks are achieved.
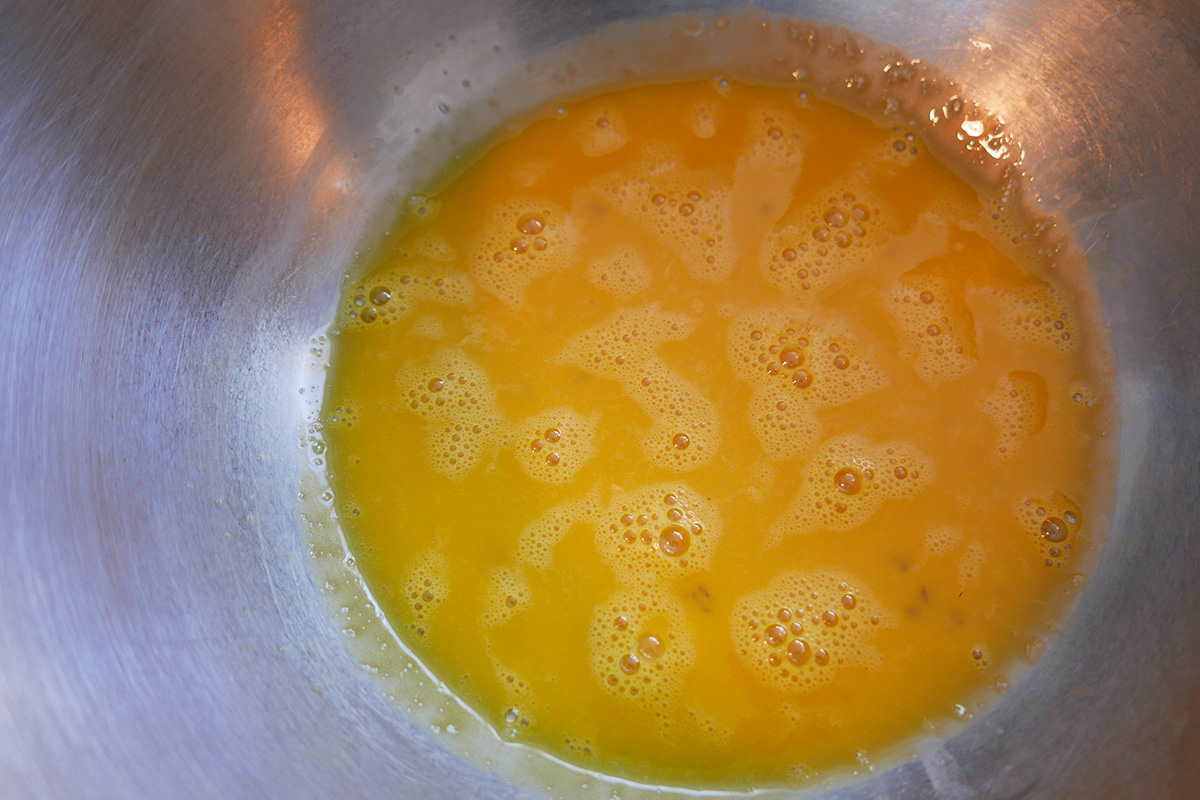
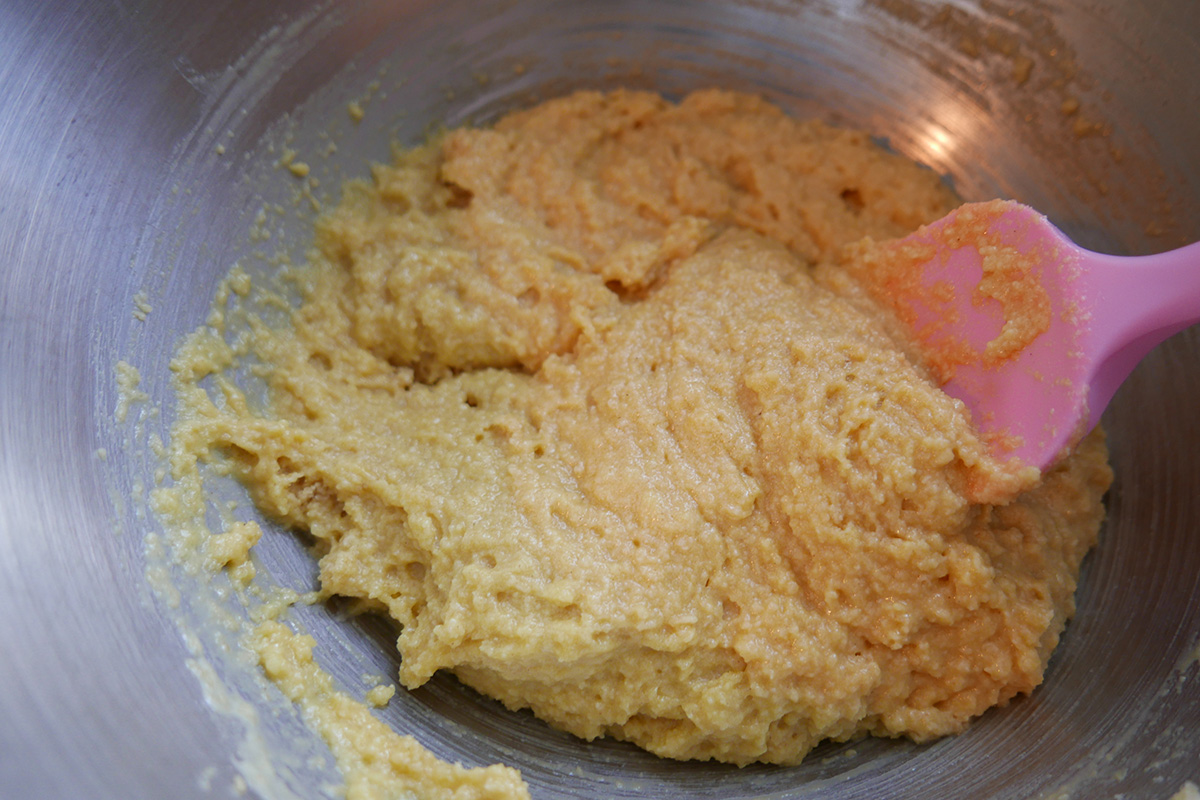
- In a separated bowl, whisk the eggs yolks and almond milk until really well mixed and smooth. (even yellow color).
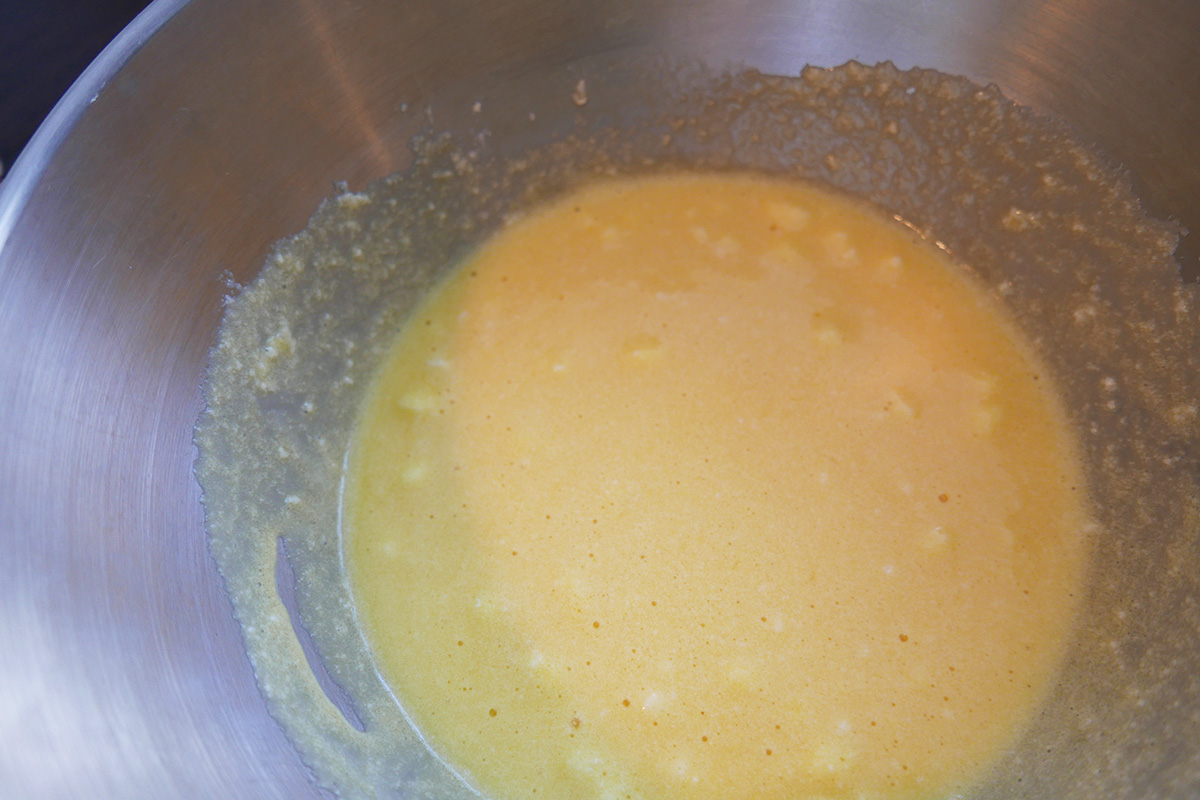
- Add butter and coconut oil into the egg yolk into #5, and continue beating until smooth. If you melt coconut oil in microwave or such, make sure that coconut oil and butter are not too hot. If it is too hot, egg yolk will crumbled.

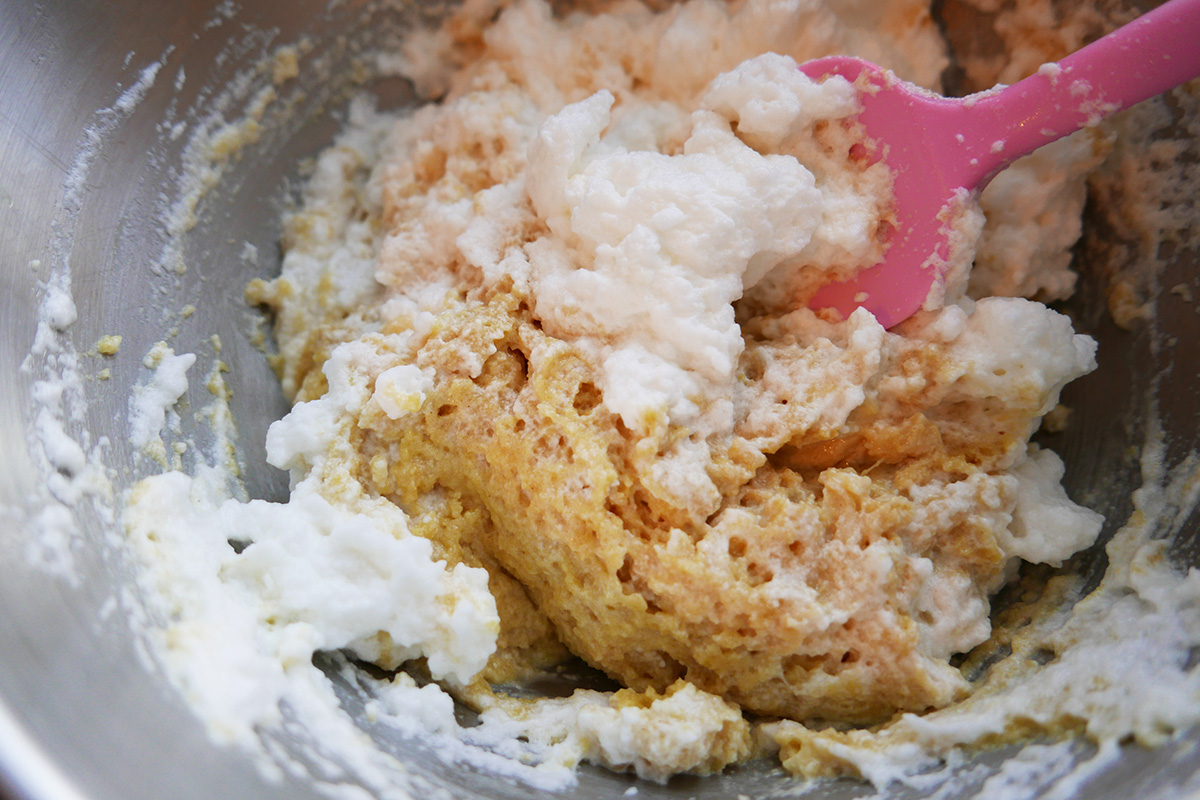
- Add 1/3 of egg whites (meringue) into the egg yolk mixture. Mix until well combined.
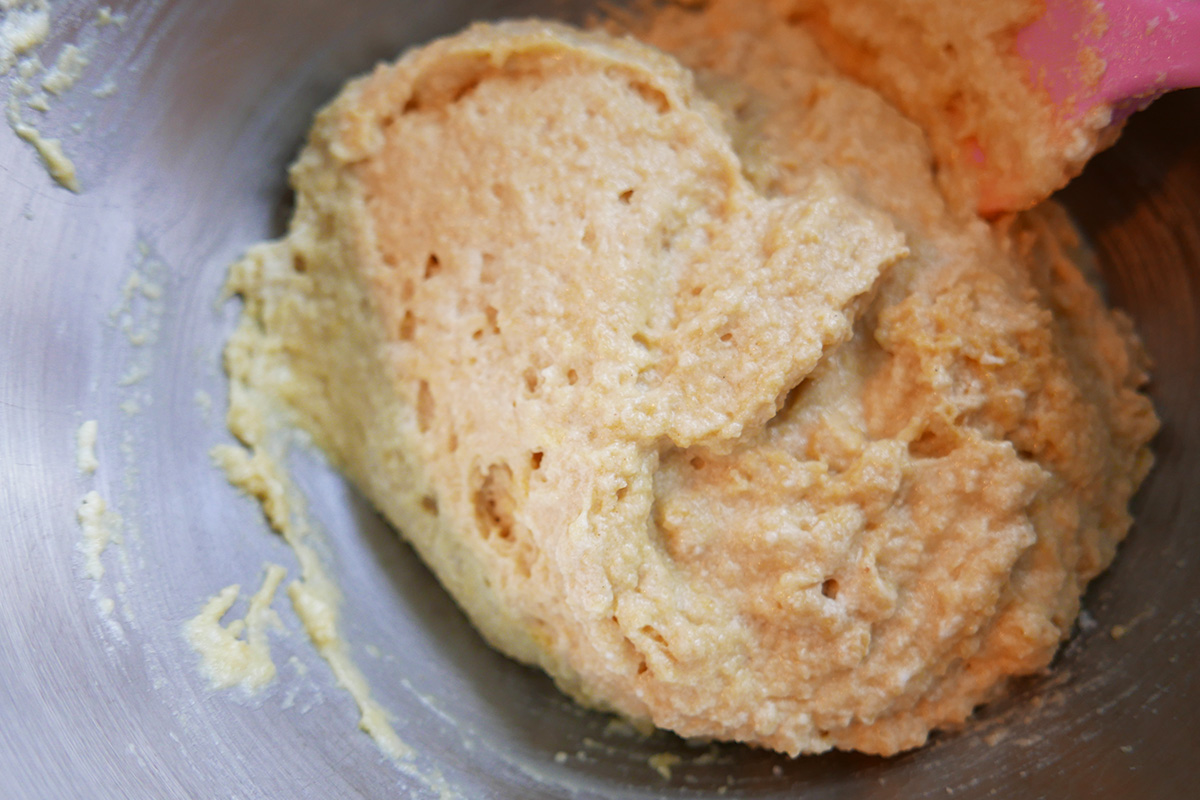
- Add almond flour, baking powder, psyllium husk, coconut flour and salt into #7 until dough is well mixed.
- Add the remaining 2/3 of the egg whites in two or three batches and gently mix until fully incorporated, until you do not see the color of egg whites separately. Be careful not to over mix, try to keep the meringue’s fluffiness as much as possible as this is what gives the bread it's volume and nice texture.
- Transfer to the prepared loaf pan.
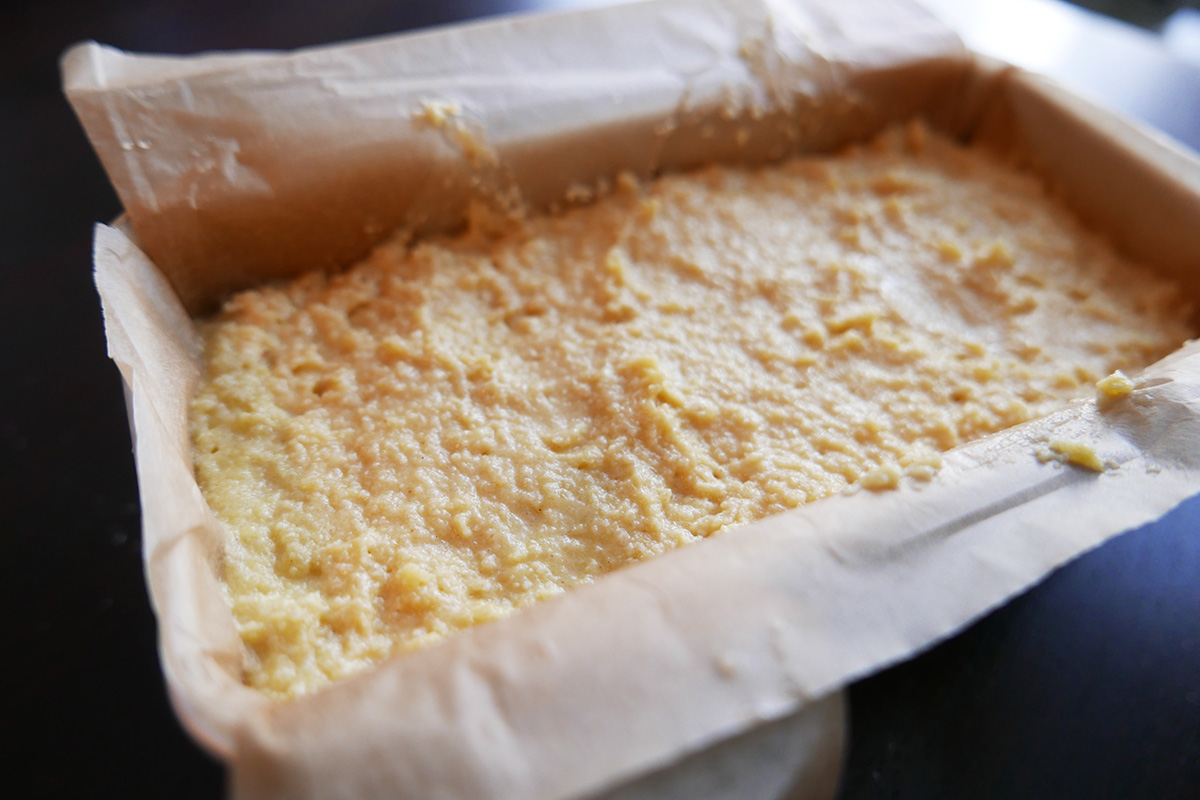
- Bake in the preheated oven until a skewer inserted in the center comes out clean, about 40~45 minutes.
- Cool down in the loaf pan for about 10 mins. Then, take bread out with parchment paper and cool on a cooling rack.
- When it is completely cool, remove the parchment paper.
OPTIONS & INSPRATIONS
- Add honey or other sweetener option of your choice as your dietary preference allows.
- Add fresh chopped Chives, Rosemary or dry herbs.
- Add Garlic powder and Onion powder for a more savory taste.
- Add chopped Nuts or Seeds.
TIPS
- After removing the parchment paper, I slice the bread and keep in an airtight container. It can be stored in the refrigerator for several days.
- You can also freeze it in ziplok freezer bags. I recommend to pre-slice before freezing.
- If you are working with strict nutritional value, you can weigh the whole bread first and divide it by the number of serving sizes.
- This is great to make grilled sandwiches, too :)
